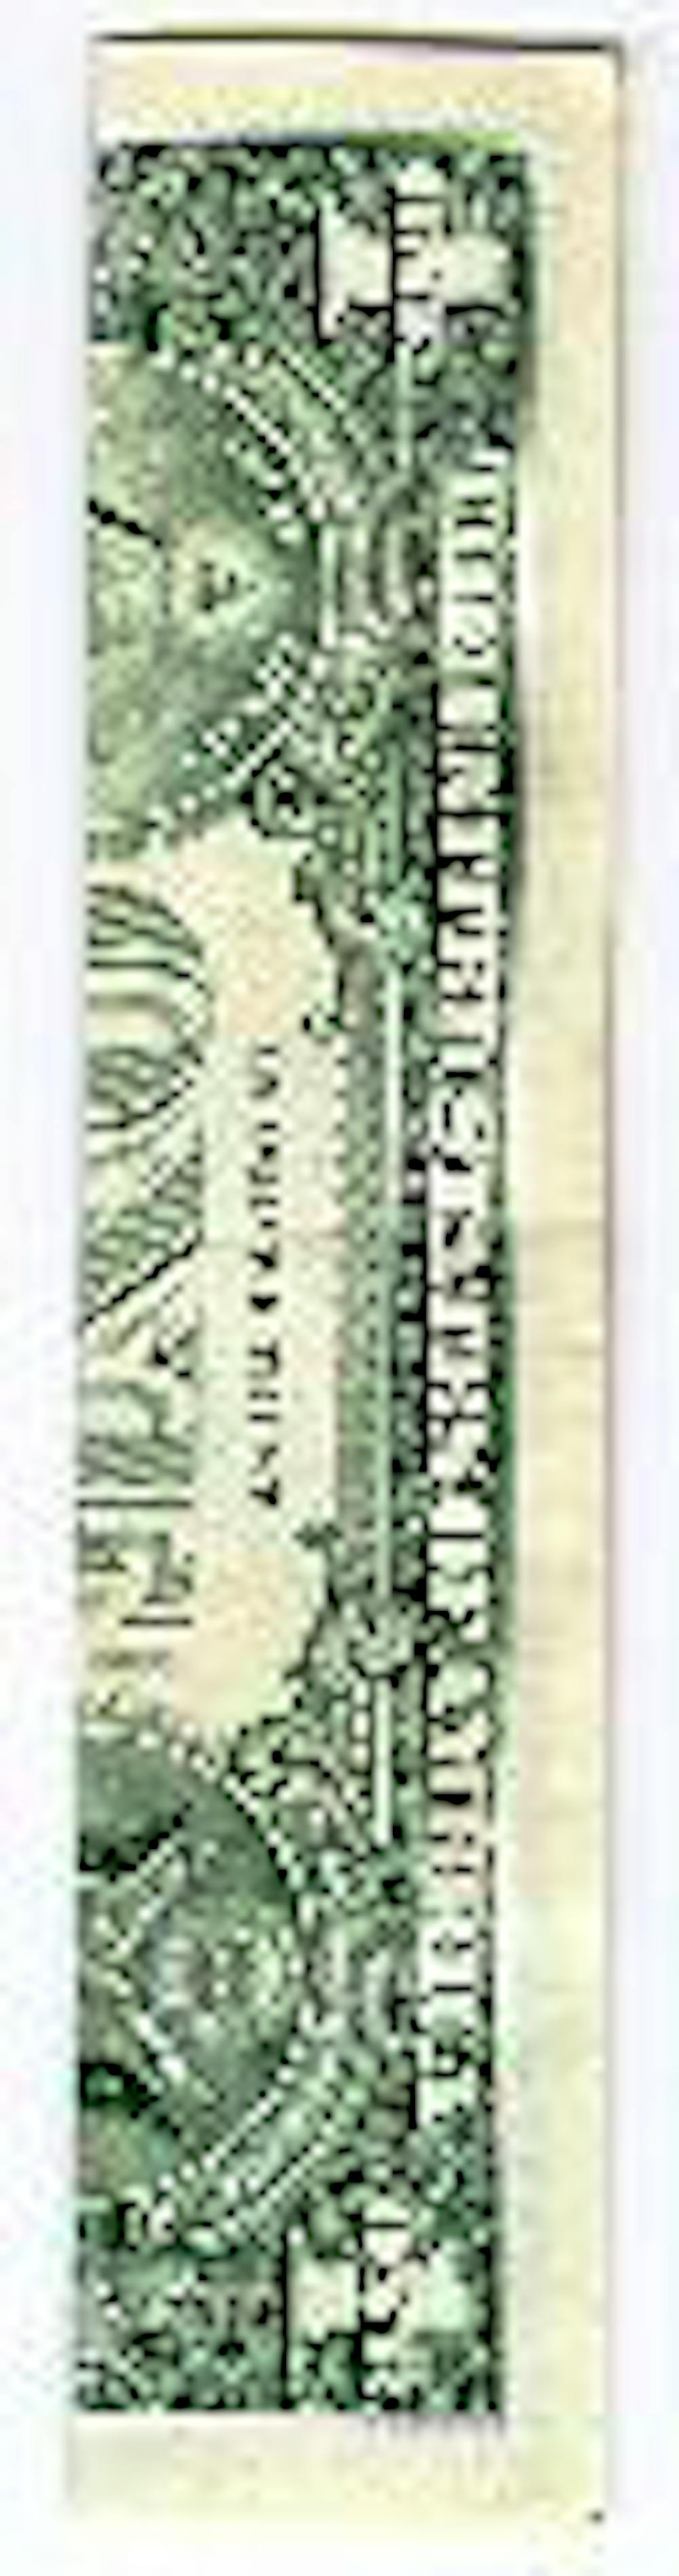
It’s not quite wearable art, but this craft will be sure to get some smiles from your friends (and it makes for a nifty bookmark).
What you’ll need: 1. Crisp dollar bill or any other rectangular sheet of paper. 2. A little craftiness.
STEP 1: Fold the bill in half lengthwise. Unfold the bill.
STEP 2: Fold the bill one quarter of the way in from each side lengthwise. The edges of the bill on either side should touch the crease made by the fold in step 1.STEP 3: Turn the bill over. Fold the white of one end over as shown. [Note: some bills are printed unevenly, so use the edge that is wider.]
STEP 4: Turn the bill over. Angle–in the two corners from the end you folded in the last step. Make sure the points meet exactly at the center line.
STEP 5: Fold at little less than one third of the bill lengthwise from the opposite end.
STEP 6: Fold inward in the same direction, tucking the previous fold under the “collar” created in Step 4.
STEP 7: Unfold the previous two folds. On the fold furthest from the collar, refold the bill straight across.
STEP 8: Now it’s time to make the sleeves. Hold each side of the previous fold between the thumb and forefinger. Force the angle to close slightly, and force the extra paper inside the vertical folds.
STEP 9: Put the shirt back together.
Disclaimer: Shirt will tear if you attempt to wear it.


